I must admit, I never tasted anything made with rhubarb. I did not how to use rhubarb, how to prepare it. I knew it was tart and always paired with strawberries. This summer I vowed to myself to try baking new things.
I subscribe to Tasting Table and get recipes sent to my email. I started a file of TT recipes and found they had a recipe for a Rhubarb Galette from Ken Oringer. How could I go wrong! First let me say baking pies is not my strong point, my pies have a 50/50 shot of coming out right! For the life of me, I can’t roll the dough out in a circle! My creations take on very unique shapes. This galette would be no different.
Off to the market I went to buy the rhubarb and I meet an very nice woman who helped me understand how to use rhubarb. I did not know if you have to peel it, the answer was no you don’t. It grows in your garden quite easily and comes back every year! Next year I will plant rhubarb. In my brief research, I learned you can’t use the rhubarb you grow the first year but can cut it in the second year. The rhubarb will come back every year without you doing anything, at least that was what I was told. This nice woman emailed me with some of her favorite rhubarb recipes which I can’t wait to try.
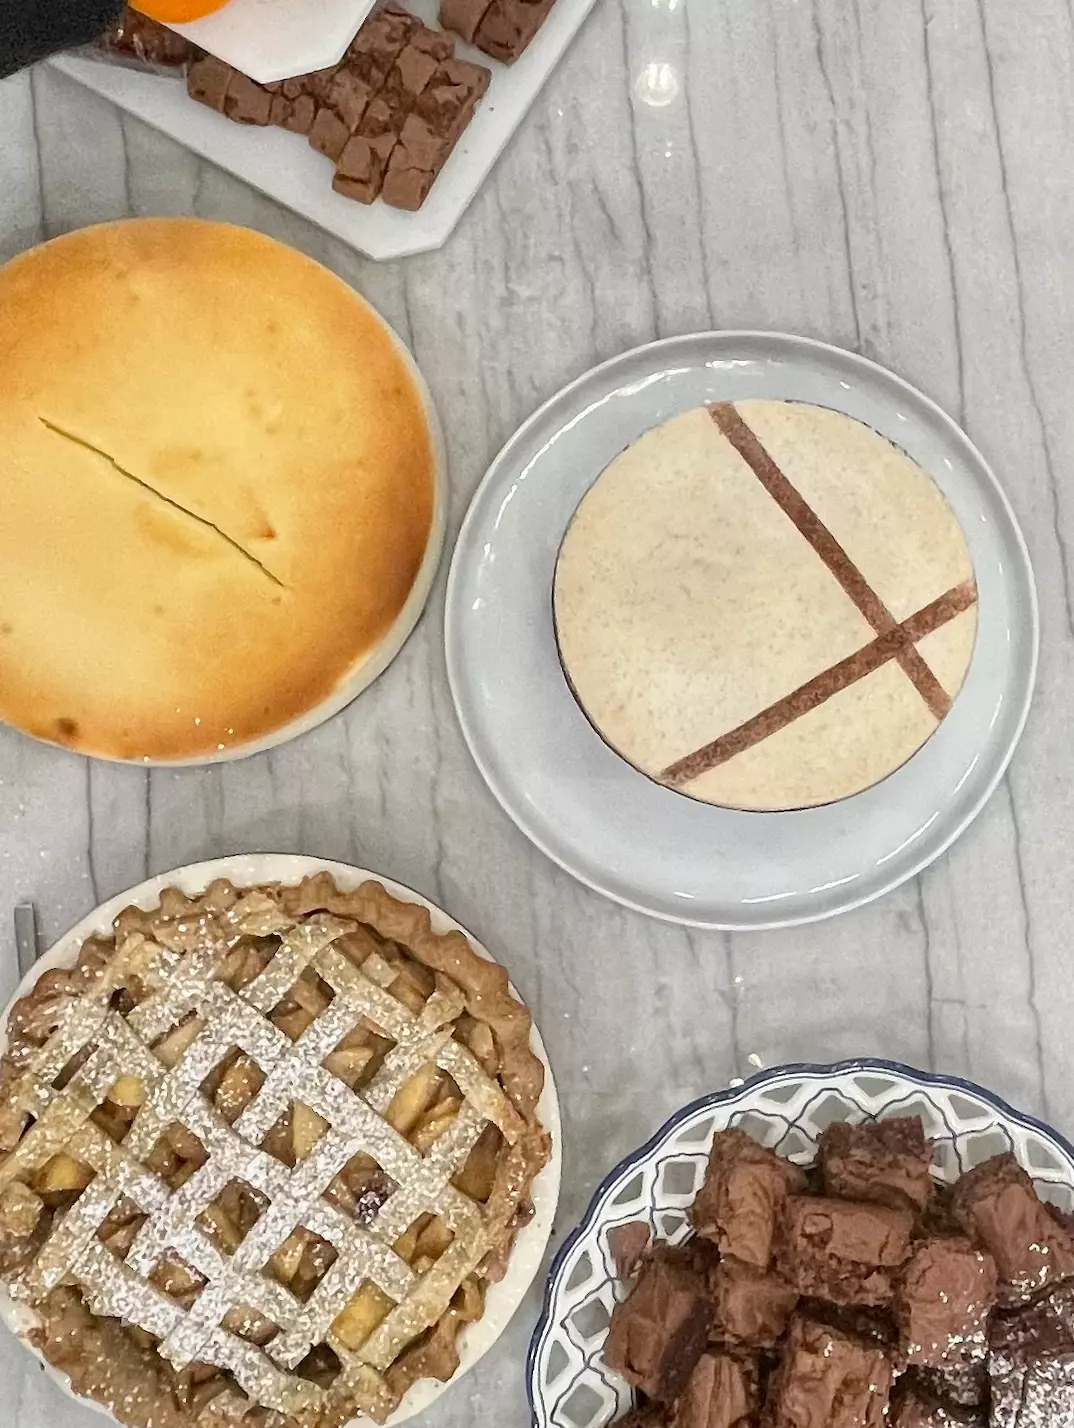
Let me tell you more about what I learned from this recipe! The dough was very easy to make, but not so easy for me to roll in a circle. My pie was very free form! I found a new use for a kitchen tool I never used before, a nutmeg grater which I used to ground the almonds in the recipe for almond flour and it worked perfectly. I followed the recipe exactly as it was written but I found when baking it a lot of the liquid escaped and it was very hard to remove to put on the cooling rack without falling apart. Next time I make it, I will use a piece of parchment on my baking sheet!

How did it taste? My pie did not have the jelly consistency that was mentioned in the recipe but it was delicious. The rhubarb had a sweet and tart flavor. The almond flour on the crust and the glaze on the crust added wonderful additions of flavors. The galette was a success and disappeared quickly! I would definitely make it again but first I have some other rhubarb recipes to make!
Rhubarb Galette
Adapted from Ken Oringer, Earth, Kennebunkport, Maine
Yield: One 15-inch galette
INGREDIENTS
2 cups plus 3 tablespoons all-purpose flour, divided, plus more for dusting
1 cup granulated sugar, divided
½ teaspoon salt
2 sticks cold unsalted butter–cut into cubes and divided
⅓ cup plus 1 teaspoon ice water, divided
3 tablespoons ground almonds
2½ pounds fresh rhubarb (about 10 to 12 stalks), washed and dried
2 tablespoons apricot preserves
1½ tablespoons Cognac
Sweetened crème fraîche, for serving (optional)
DIRECTIONS
1. Preheat the oven to 375°. In a food processor, combine 2 cups flour, 1 tablespoon sugar and the salt. Scatter 1½ sticks of the cubed butter evenly around the blade and pulse a few times, allowing large clumps of the butter to remain. Drizzle ⅓ cup of ice water over the mixture while pulsing to create a loose dough. Remove the dough from the processor and place in the middle of a large piece of plastic wrap. Gather the plastic around the dough, press it together to form a ball and refrigerate for 1 hour.
2. In a medium bowl, whisk together the remaining 3 tablespoons flour, ¼ cup sugar and the almonds. Set aside. Split the rhubarb stalks in half down the middle and cut them into 1½-inch lengths.
3. On a lightly floured work surface, roll the rested dough out in a 15-inch circle, about ⅛-inch thick. Carefully transfer the dough to a baking sheet and spread the reserved almond flour evenly in the middle, leaving 4 inches on all sides of the dough. Mound the rhubarb on top of the almond flour and gently fold the sides of the dough up around the edges of the rhubarb, piecing the dough together to avoid leaving any holes in the edges. Sprinkle the remaining ⅔ cup sugar and the remaining butter cubes over the rhubarb. Bake for 1 hour and 30 minutes, rotating the galette halfway through, until the bottom and edges of the crust are golden brown.
4. In a small bowl, whisk the preserves with the remaining 1 teaspoon ice water and Cognac. Use a pastry brush to generously brush the liquid all over the edges of the galette. Place the galette back in the oven and bake for about 2 minutes longer, until a glossy finish forms on the crust.
5. Let the galette cool on the baking sheet for 5 minutes, then transfer to a cooling rack and let cool completely, about 20 minutes. Serve with sweetened crème fraîche, if desired.
Enjoy!